Homemade Greek Yogurt will change your life. Am I kidding? I don’t think so. It certainly changed mine. This economical healthy food creates a staple in the kitchen for both your savory and sweet tooth. Your kids will love it and so will you.
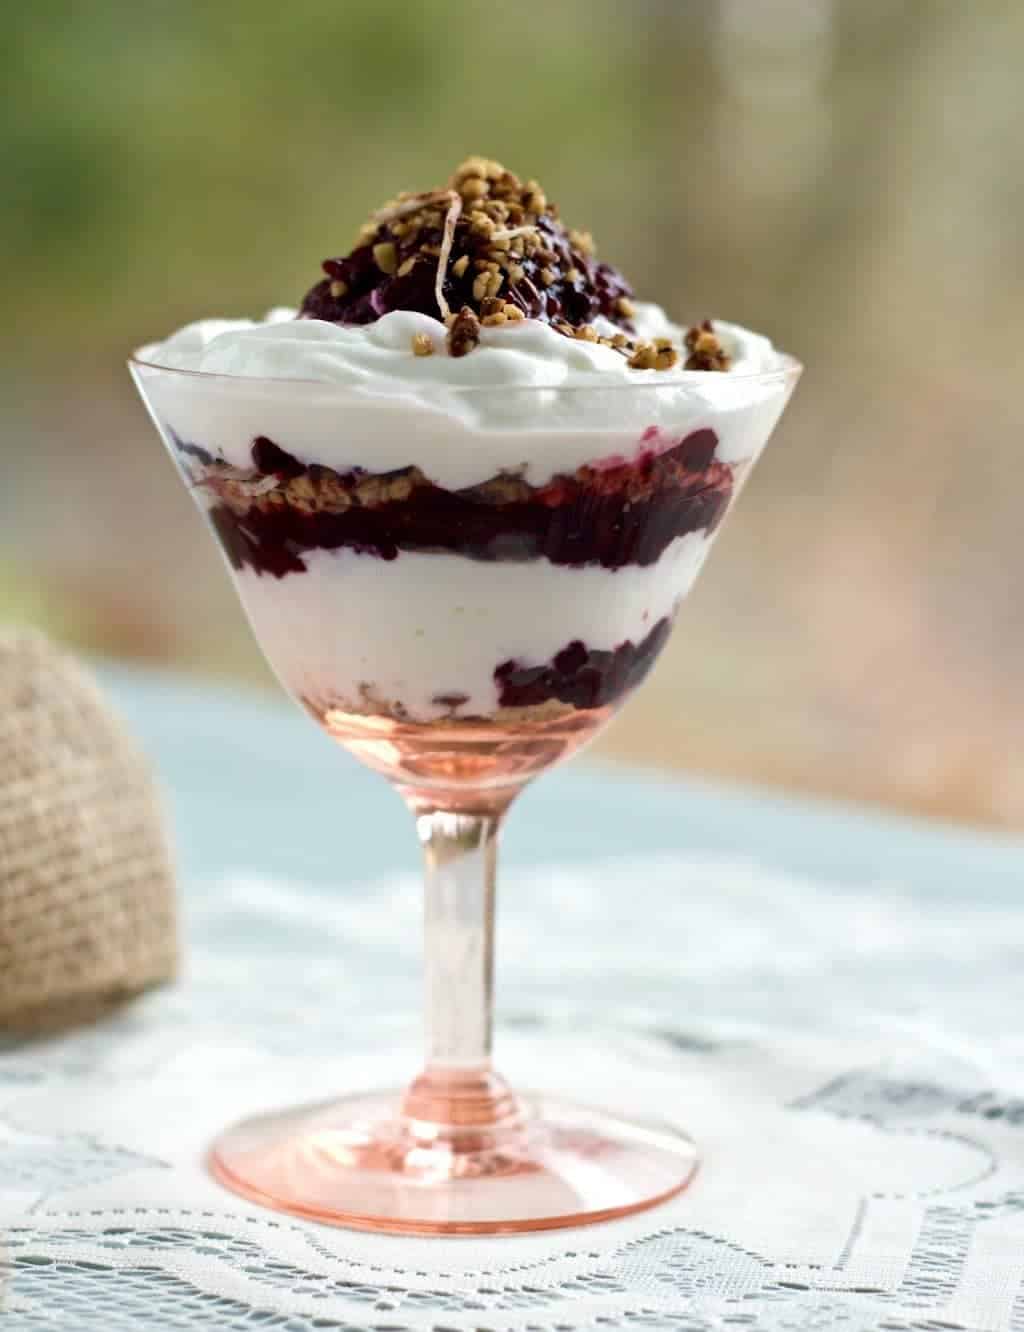
Make yourself and your family a healthful breakfast with crunchy Delicious and Nutritious Homemade granola poured over the top! It’s also a great base for creamy dressings and dips like Creamy balsamic salad dressing and Tzatziki chip dip. Yogurt parfaits make great desserts or breakfast. Try my Greek yogurt pancakes for a delicious, light healthy pancake! I use homemade Greek yogurt as a direct substitute for sour cream in many recipes, including cheesecakes!

What is the nutritional difference between Greek Yogurt and regular yogurt?
How do we make it?

UPDATE: I now own an Instant PotInstant Pot. If you have one this is a REALLY easy way to make your yogurt. The machine does all the work to the straining stage. No more worrying about burning the milk either. The instant pot is amazing!
- One gallon of organic milk (I prefer the richness of full-fat milk)
- Approximately 1/4 C fresh yogurt WITH MILK AND BACTERIA ONLY. Check your labels!
This is important!
The plain Greek yogurt you choose for a starter must have ONLY milk and bacteria listed on the label. NO chemical or gelled additives! Fage brand or Kirkland are my favorites. Others will work if they have NO additives.
NOTE: After you make your first batch of homemade yogurt, you can use YOUR OWN yogurt for starter. So keep back a bit for the next luscious yogurt adventure! Every several batches, it’s a good idea to buy a small container of fresh yogurt for starter. They wear out after several batches.
UTENSILS you will need:
- It can’t be whisked back into the yogurt! Leaving the skin on the yogurt will give you unpleasant hard bits in the yogurt you make. Most milk will form a skin of some sort as it cools. Skim that skin off for the best textured yogurt.
- When your milk is cooled (checked with your thermometer) to 110º, add the yogurt starter.
- Mix it well. I use a whisk. Put the pot or bowl into the oven on bread proof or about 95 degrees F. and cover it with a lid. Set your timer for 8 to 12 hours. (Here is where personal preference and different ovens come in) I like mine to set pretty firmly so I often set it for 10 to 12 hours.
- Now its time to strain the set yogurt. Put your very clean, WET, and wrung out close weave cheesecloth, Pure Cotton t-towel or T-shirt into your strainer or colander. You can also use a nut bag or large sized coffee filter.

About Straining the Yogurt.
- It should lose about half its volume in 1 to 2 hours.This makes a rich, creamy, yogurt.
- I tend to strain it much longer. More like 4- to 8 hours to increase the thick, creamy texture, and concentrate the protein content.
- You can leave the yogurt at room temperature, if you like it sour. It will continue to incubate the bacteria while it strains out the whey.
- I cool it immediately in the fridge because my personal preference is to produce a creamy, thick yogurt that I can enjoy plain and I don’t like it sour. I often eat it with granola and no further sweetener. Tastes So great!
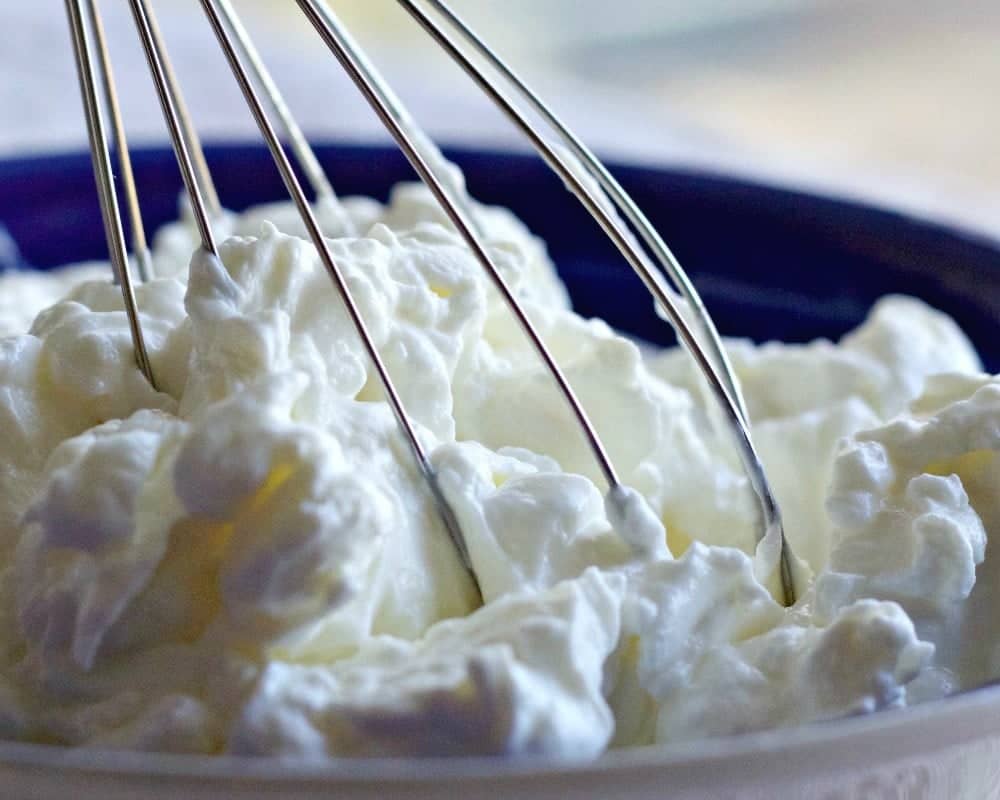
- If you strain it 8 hours, you will get a yogurt cheese. Which I love and always do! It comes out about the consistency of cream cheese. There are many uses for this thick concoction in the kitchen. I highly recommend you strain your yogurt to the cheese consistency. Keep at least half of your yogurt this thick for dressings and other handy sour cream type recipes. The other half add some of the whey back in and whisk until your happy with it.
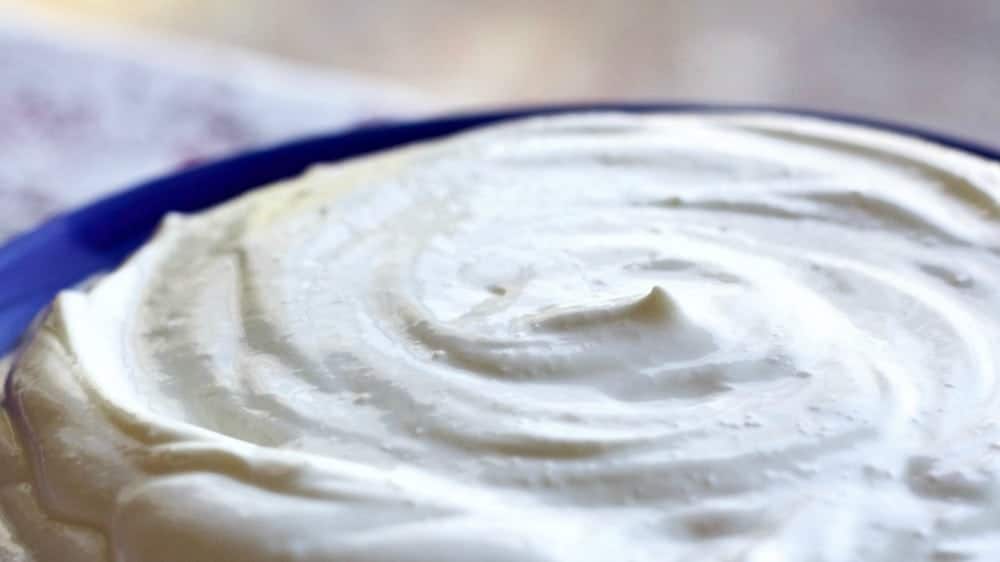
- The final step to producing the yogurt is whisking it until it is smooth. Don’t overdo it. Whisk it just until you like the consistency. It will loosen as you whisk it even if you start with a compact ball of yogurt. You may need to add some whey back into the yogurt and whisk a little more if its just too thick. Put into containers and enjoy! Store it in your fridge. Lovely stuff. It will set up a bit overnight, making it even better!
This recipe turns 1 Gallon of milk into 2 quarts of homemade Greek yogurt. It will keep in the fridge about 2 weeks (maybe more, but it never lasts longer than that in my house). You can make 1/2 Batch if you don’t need 2 quarts. Don’t forget to keep some back to start your next wonderful batch!
Homemade Greek Yogurt
Remember you have control of this homemade greek yogurt recipe!

I found a great in depth post and discussion of people’s various experiences with making yogurt from all sorts of milk (including raw and goat) in all sorts of different ways. Try incubating in a food dehydrator and not heating the milk to pasteurization temp! At NW Edible Go here!

Original article and pictures take www.homemadefoodjunkie.com site
Комментариев нет:
Отправить комментарий